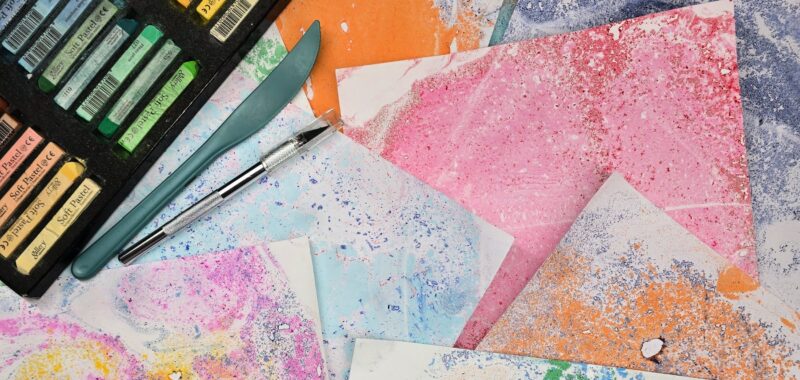
School-aged kids will learn to use chalk for hydro dipping in this easy project. This technique can easily be used at home or in the classroom.

WHat is Hydro Dipping?
Hydro dipping art is a technique that uses a colored medium resting on top of water. In this lesson, we are using chalk pastels, but any medium that will float on top of water will work such as oil based paints, oil and food dye, etc. Artists add colors to the surface of the water, dip their paper into the water, colors then transfer from the surface of the water onto the paper.
Related: Explore other fun chalk pastel techniques!
Supplies Needed to Make this Chalk Hydro Dipping Art Project

- Cardstock
- Chalk Pastels
- Plastic Knife or other object – to scrape pastels
- Container filled halfway with water. The container needs to be large enough for kids to lay the cardstock flat on the surface of the water (we used a dish pan).
- Spray fixative or hairspray
Directions to make chalk hydro dipping art
Step 1

First, use a craft knife (or similar) to scratch chalk pastel dust onto the surface of the water. Add various colors until the surface of the water is covered with chalk.
Step 2

If desired, use the knife (or your finger) to create swirl designs in the floating chalk dust.
Step 3

Next, carefully place the cardstock on top of the water.
Step 4

Then, carefully remove cardstock from the surface of the water to reveal your chalk print!
Step 5
Once dry, spray chalk prints with a fixative or hairspray to prevent smearing.
Finished Chalk hydro dIpping Art Project

I love how fun and easy this project is! Since these projects are made on paper, they can easily be framed, clipped, or displayed in your preferred style.
Our Experience Making this Chalk HYdro dIpping Art Project
We had so much fun creating these chalk hydro dipped pieces! They are incredibly quick and easy to make allowing us plenty of time to explore various color combinations and designs.
Prep Time
5 minutes
Active Time
10 minutes
Additional Time
5 minutes
Total Time
20 minutes
Difficulty
easy
Estimated Cost
$1
Tools
- Chalk Pastels
- Plastic Knife or other object – to scrape pastels
- Container filled halfway with water. The container needs to be large enough for kids to lay the cardstock flat on the surface of the water (we used a dish pan).
- Spray fixative or hairspray
Instructions
- Use a craft knife (or similar) to scratch chalk pastel dust onto the surface of the water. Add various colors until the surface of the water is covered with chalk.
- If desired, use the knife (or your finger) to create swirl designs in the floating chalk dust.
- Carefully place the cardstock on top of the water.
- Remove cardstock from the surface of the water to reveal your chalk print!
- Once dry, spray chalk prints with a fixative or hairspray to prevent smearing.
Other Fun CHalk Art Projects from Kids Activities Blog
Did your kids have fun exploring chalk hydro dipping? What color combination was their favorite?

